Making bread in a slow cooker
My flat doesn't have an oven. A fabulous sea view, but no oven.
My parents recently gave me a slow cooker.
I enjoy baking bread. It seemed to me that an oven and a slow cooker essentially work in the same way, and so I decided to try making bread in a slow cooker.
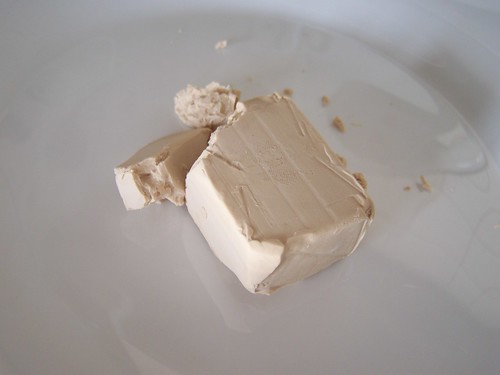
The first hurdle was yeast. I normally (like, always until now) use dried yeast in those convenient sachets. My supermarket doesn't sell convenient sachets, it sells cubes of what is apparently fresh yeast. (Google Images and friends on Twitter, thank you for helping me work this out!)
I have to admit, at this stage, I had some doubts about this bread. Using yeast I'd never seen before and a slow cooker instead of an oven, I could think of many, many things that could go wrong. But I had nothing better to do with my morning, so I thought I would press on regardless!
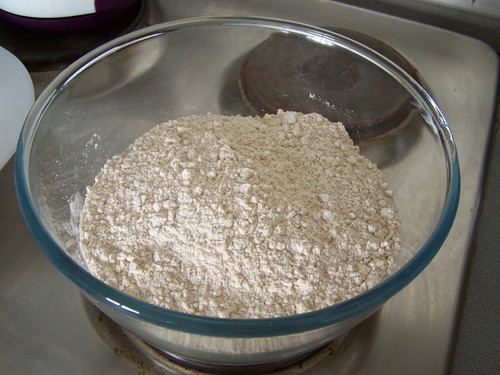
Ingredients: 1 cube of yeast, 600ish grams of flour, a pinch of salt, about 400ml of lukewarm water, a teaspoon of sugar.
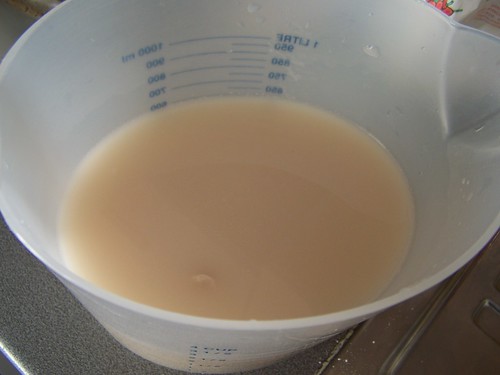
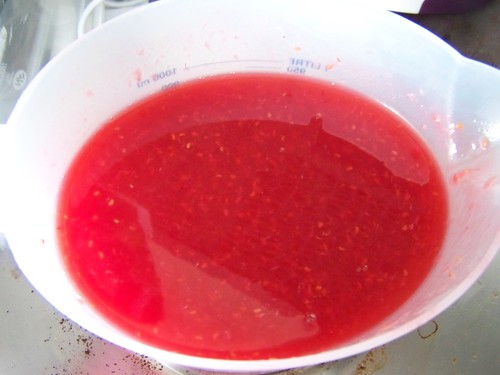
Mash and stir the yeast into the water/sugar, until it's all dissolved:
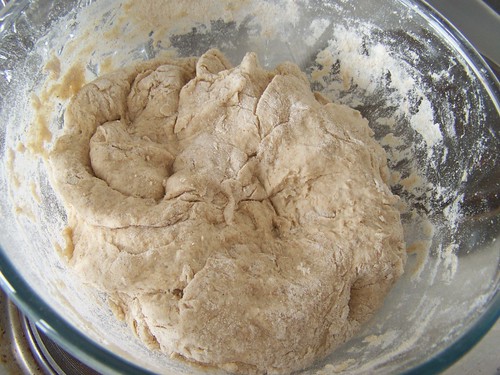
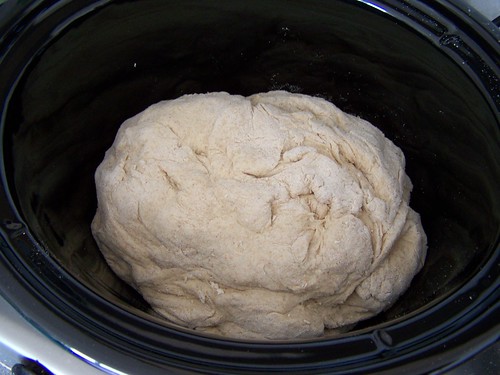
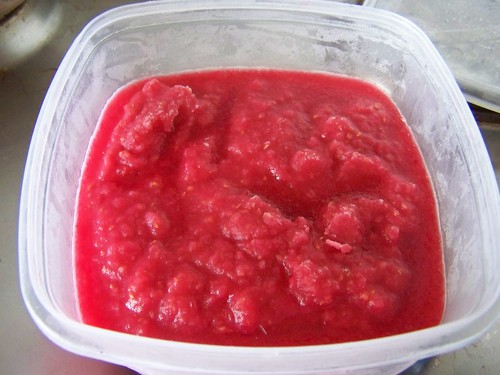
Mix the yeast/water/sugar mixture into the salt/flour mixture until it makes a dough. It should look something like:
Leave to rise, covered loosely with clingfilm, until doubled in size. (This took me about an hour, but may take longer depending on how warm your house is. Don't overheat in an effort to speed the process up, because that will kill the yeast.)
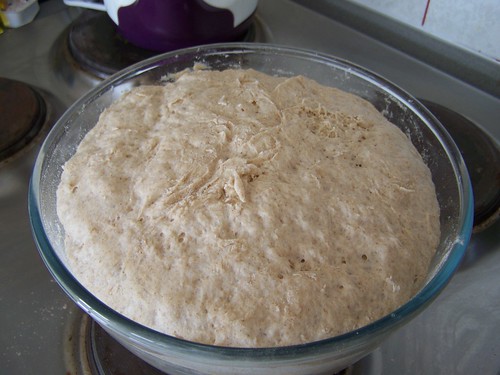 | |||
| Dough, risen |
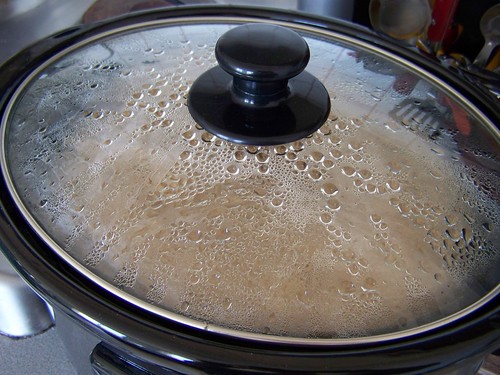
Get your slow cooker ready, punch down the dough, and then put your punched down, deflated dough into the bowl of the slow cooker. I didn't use baking paper, because I didn't have any in the house, but I would recommend it for getting it out of the pot more easily at the end!
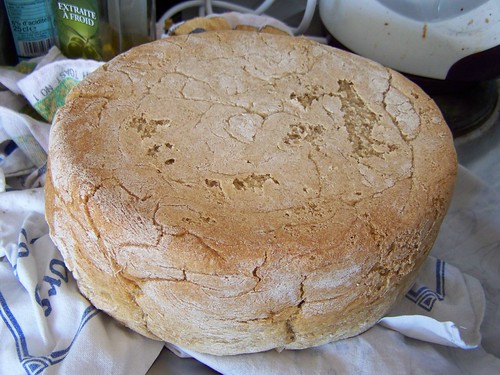
Heat on high for as long as it takes to cook - it took my slow cooker about two hours, but check regularly as it's going to see how long it takes with yours. Note that you will not see a crust forming on the top of your loaf of bread, because of the way slow cookers cook - the crust forms on the bottom and the sides - so you'll need to test the top for springiness.
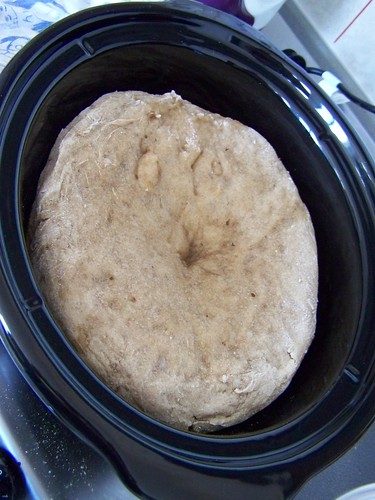
Try not to touch it until you're fairly sure it's set though, else it will probably collapse. (See below...)
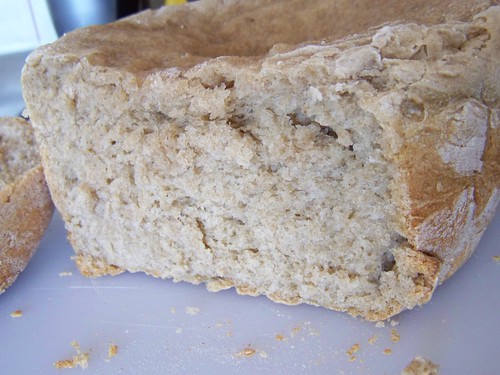
When it's done, the top will be soft to the touch, but not squashy - you'll know it when you see it, no doubt! Mine looked like below - you'll see that where I touched it after an hour and a half, it's collapsed. I'd avoid doing that, if I were you...
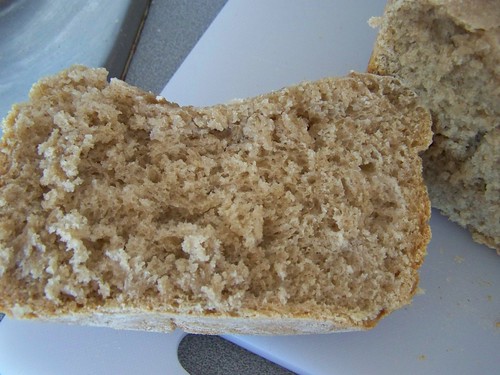
Wait for it to cool before cutting it, else it will go all gummy. This will be torture, as you'll have to endure the smell of warm fresh-baked bread, and not be able to eat it. Resist.
Enjoy! Read more...

